Article
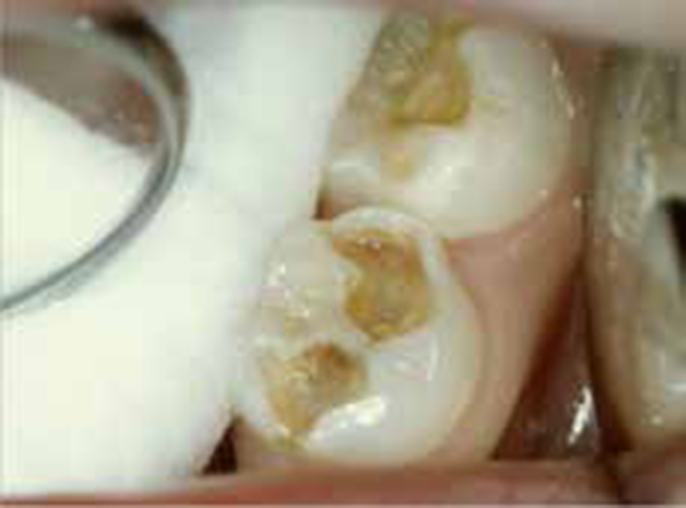
The Hall Technique is a method for managing carious primary molars. The decay is sealed under preformed metal crowns without local anaesthesia, tooth preparation or any caries removal. There is good evidence that, if caries is effectively sealed from the oral environment, the bacterial profile in the caries will change, resulting in it losing its cariogenic potential so that the lesion does not progress.
Clinical trials have shown the Hall Technique to be effective, and acceptable to the majority of children, their parents and clinicians.
Indications include teeth with:

Contra-indications include teeth with:
Step 1: Assessment
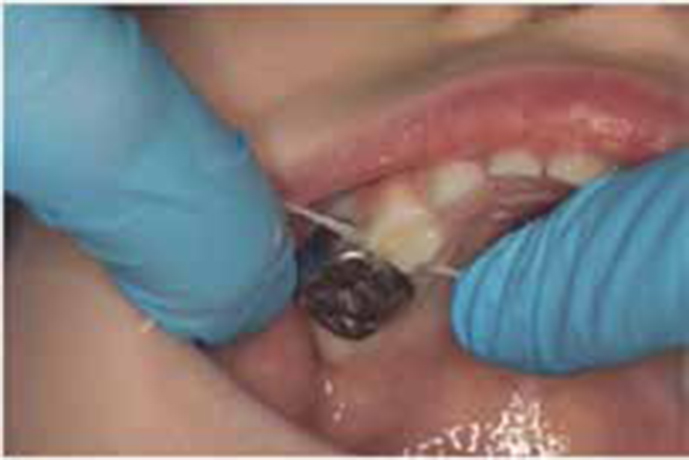
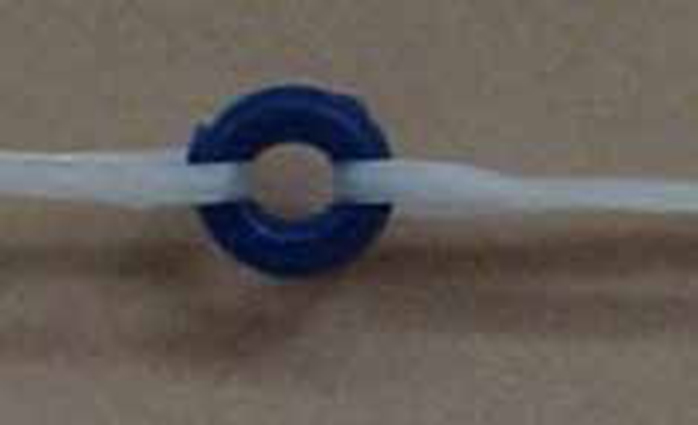
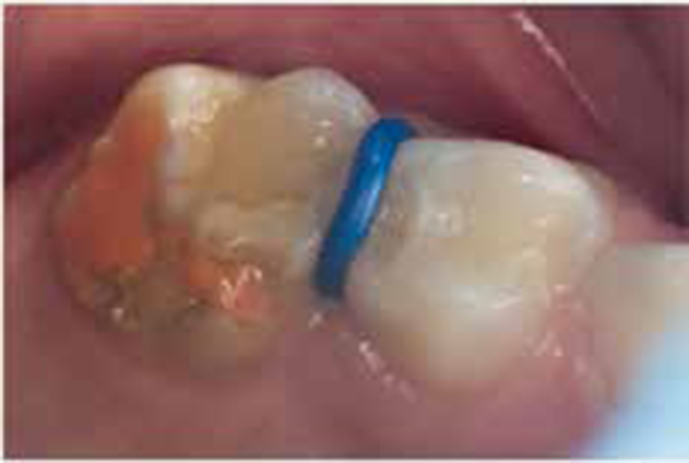
Assess the tooth shape, contact points and the occlusion. If the child has tight or broad contact points, it is useful to place orthodontic separators through the mesial and distal contacts. This technique will require two appointments: the initial appointment for placing the separator and second appointment, 3–5 days later, for removal of the separator and placing the crown. Two lengths of dental floss should be threaded through the separator (Figure 3). The separator should then be stretched taut and ‘flossed’ through the contact point briskly (Figure 4) and firmly until only the leading edge is felt ‘popping through’ the contact point (Figure 5). The floss should then be removed. Alternatively, mosquitoes needle holders can be used instead of floss in the same way.

Step 2: Choosing a crown
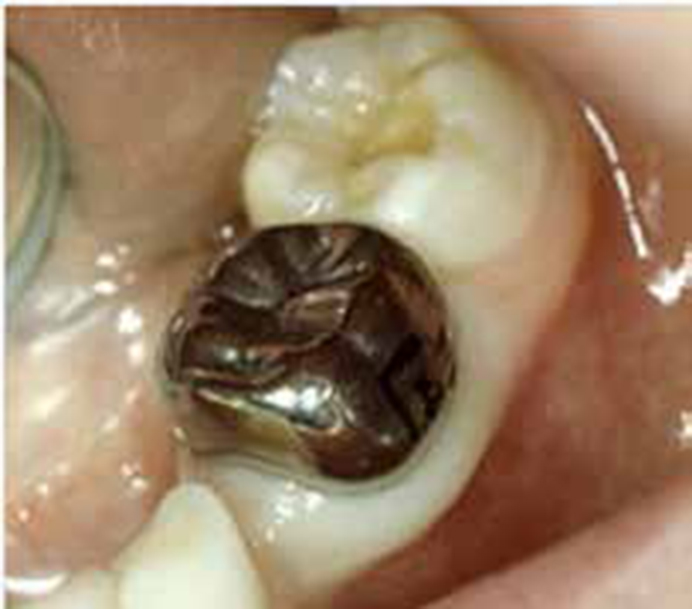
Make sure the airway is protected, for example, by using gauze swab and ensuring that the child is sitting more upright when trying and seating the crown. Select different sizes of crowns until you find one which covers all the cusps, and approaches the contact points, with a slight feeling of ‘spring back’. Aim to fit the smallest size of crown that will seat. Do not fully seat the crown or it will be difficult to remove!
Step 3: Cementing the crown
Some operators use topical anaesthetic around the ginigvae to increase comfort when seating the crown, but this is personal preference. Before cementing, dry the inside of the crown using the end of a cottonwool roll. Load the crown generously (it should be at least two-thirds full) with a glass ionomer luting cement, eg Aquacem. Fill the crown from the base upwards and ensure that there is cement around all the walls, being careful to avoid air blows and voids. Place the crown over the tooth.
Fully seating the crown is important. There are two main methods of seating the crowns:
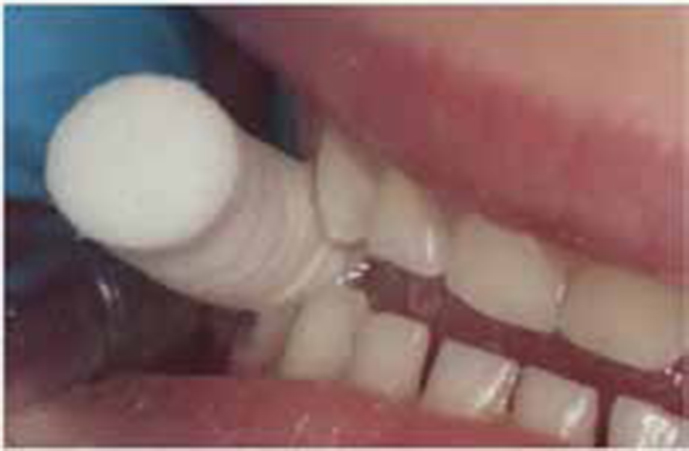
It is often useful for the child to bite down on the crown on a cottonwool roll to ensure that it is fully seated (Figure 6). Remember to remove excess cement and floss between the contacts (Figure 7). Blanching on the gingivae usually disappears within minutes (Figure 8).