Technique for bonding a single extracted/exfoliated lower incisor to provide a temporary/permanent solution Cassie Sida-Murray Dental Update 2024 42:3, 707-709.
Authors
CassieSida-Murray
BDS
Dental Surgery, 65 East Dulwich Road, East Dulwich, London SE22 9AP, UK
Lower incisor teeth in more mature patients may be lost for a variety of reasons: exfoliation, unresolved periodontal or apical infection, trauma.
Reasons for use of this technique:
Existing chrome/cobalt denture where soldered joint would be unsatisfactory;
Existing partial acrylic denture where addition would be fragile due to narrow isthmus;
Adjacent tooth likely to be lost in near future, single implant with two pontics planned;
Maryland planned;
Cost: cheaper than all other alternatives.
Technique
Impression and extraction
Freehand, ½ scoop putty impression of lingual surfaces of at least 3–3, pushed well into interdental spaces, taken far enough apically to provide moisture barrier at bonding stage, hooked just over the incisal surfaces, so impression will hold on by itself.
Extract tooth, disinfect and store until healing satisfactory.
Bonding appointment
Debride teeth to be bonded;
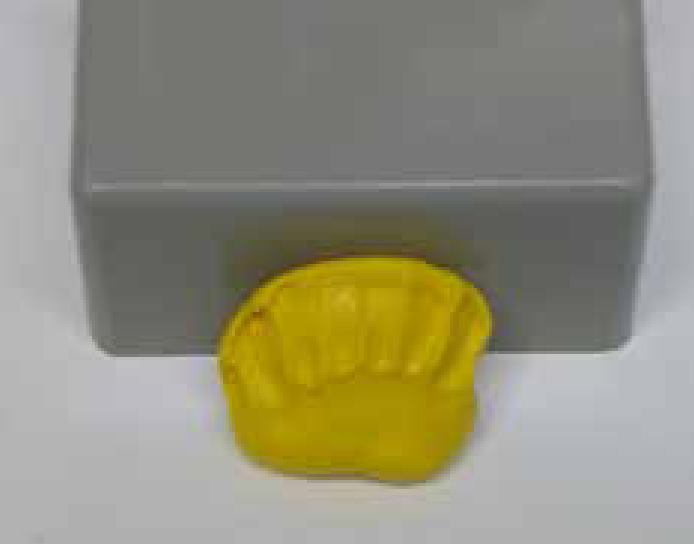
Remove triangle of impression material from relevant embrasure with scalpel/slow speed bur (Figure 1);
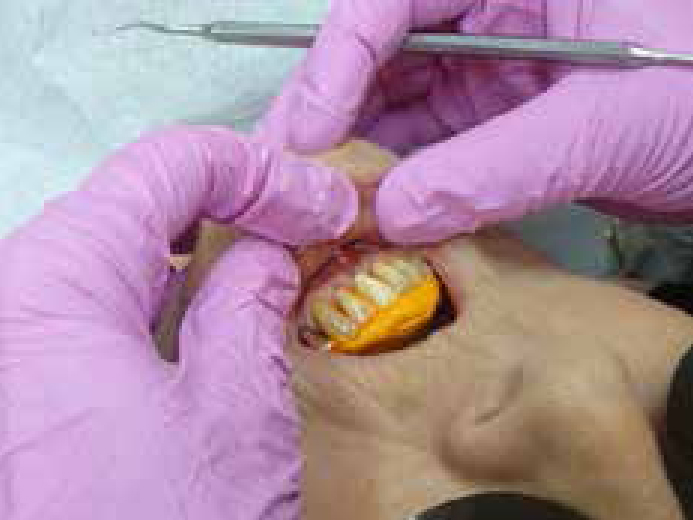
Wedge impression in place. Cut root off to suitable level with labial/lingual slant; retrograde if required (Figure 2);
(If tooth exfoliated you will need to cut tooth off and then take impression, pressing the tooth into the material in the correct position);
Etch, prime and bond surface of trimmed tooth;
Repeat with abutment tooth (easier without the impression in place);
Use a 3-part bond and make sure it is thoroughly etched – this is the key to success!;
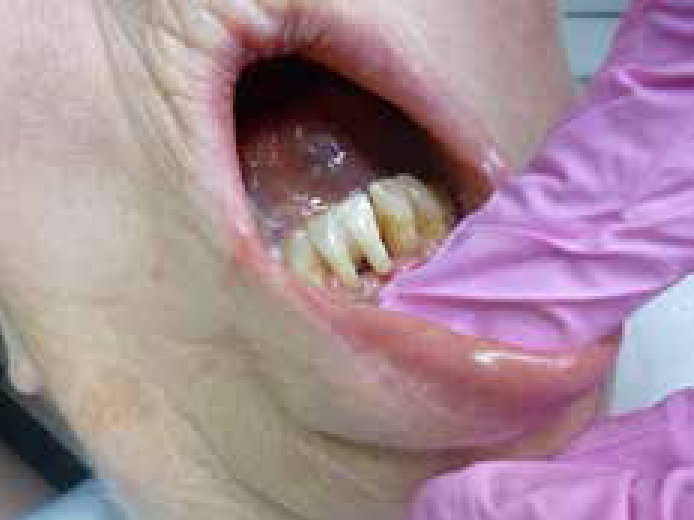
Reinsert impression, join teeth with high fill, flowable composite, in this case G-aniel Universal Flow, GC Europe NV, Interleuvenlaan 33, B - 3001 Leuven, Belgium (Figure 3);
Better if the patient is supine or semi-supine so tooth to be attached just lies happily on the impression, leaving both hands free;
You may wish to run a strengthening layer across the lingual surfaces for good luck;
Figure 1. Remove triangle of impression material from relevant embrasure with scalpel/slow speed bur.Figure 2. Wedge impression in place.Figure 3. Reinsert impression.Figure 4. Final view.
Warnings
Tooth may be blonder than other teeth for a while due to disinfectant solution.
May have adjacent diastema.
Does it work? – yes! Patients are delighted that it's their own tooth and gives them time to think about what they may wish to do as a more permanent solution, should it be required.